
For a long time, I have been wanting to share the process I (usually) go through when designing something.
I say “usually”, as it can vary a lot from design to design. Sometimes I start knitting and see what happens, sometimes there is more planning involved. It very often depends on the type of pattern I’m writing: Is it a shawl, a sweater, socks? A shawl can be pretty simple, but may require some calculations. A sweater most definitely requires calculations, and also swatching, so you can do the calculations properly.
Also, what is the inspiration?
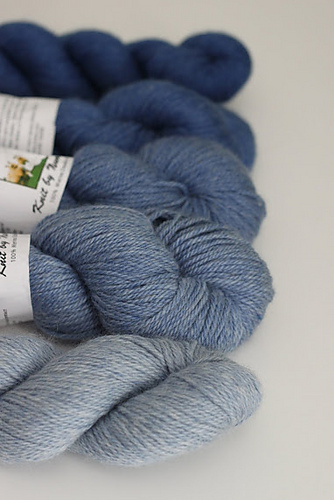
In this particular case, for the design I am using for this series of blog posts, I was inspired by the yarn. I bought it at Unwind Brighton in July 2014, when I fell in love with the shelves full of gradients at the John Arbon stand. You can take a look at the Knit by Numbers merino yarn range here, they even ombré’d it on the website! I am a sucker for that kind of gradients/ombrés, so I just HAD to have it. I bought a grey gradient (the KBN01-KBN06) and a blue gradient (KBN80-KBN84). 6 skeins of the grey one, 5 of the blue one. I can’t for the life of me remember why I only bought 5 of the blue!
In any case, it’s the blue I will be using for this sweater. It’s going to be a sweater, you see – a simple sweater, which can show off the awesome gradient, but at the same time not boring to knit.
As I love texture, I was thinking: What about Half ‘n Half? Half stockinette stitch, half garter stitch?
I didn’t even make a sketch for this one, which I usually do. I was simply so convinced it would work out, that I wanted to get started straight away.
Step 1: Make a gauge swatch!
My thoughts about the stitch patterns I wanted to use keyed in to this. Garter stitch, when done at a loose gauge, will stretch an awful lot. At a tighter gauge, it is better at keeping its shape. Stockinette stitch on the other hand is flat and lovely, and is a bit less prone to change much if done at a right gauge. So I grabbed my 3,75 mm needles for this Sport weight yarn and got going, seeing if I could fabricate a fabric that I liked.
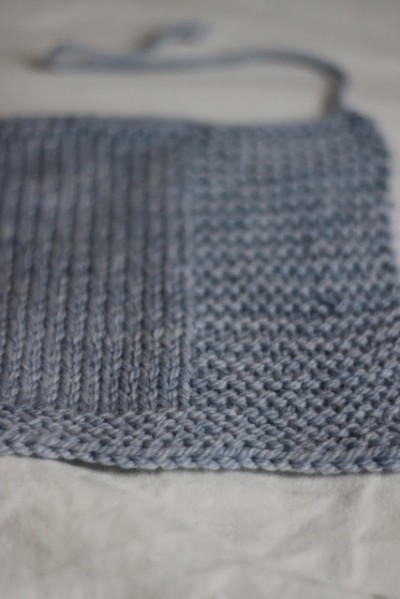
30 sts is my usual swatch size, and that’s what I did this time as well. A couple of rows of garter stitch, and then the real deal: stockinette and garter stitch. I chose to be lazy and make half the swatch in one, the other half in the other. To get an accurate gauge measurement you need at least 10×10 cm to measure on freely, but in my case it would be around 5×10 cm (5 cm in width). It won’t be exactly accurate, but that doesn’t matter a great deal, as it can be fudged as we go on with the design. I am thinking a garment with no ease, and it’s okay if it turns out with a little bit of positive ease or negative ease.
Done with knitting, I measured my swatch. The stockinette stitch part was 18 sts & 27,5 rows per 10×10 cm, the garter stitch part 19 sts & 35 rows. So some blocking was needed if I wanted it to be alike.
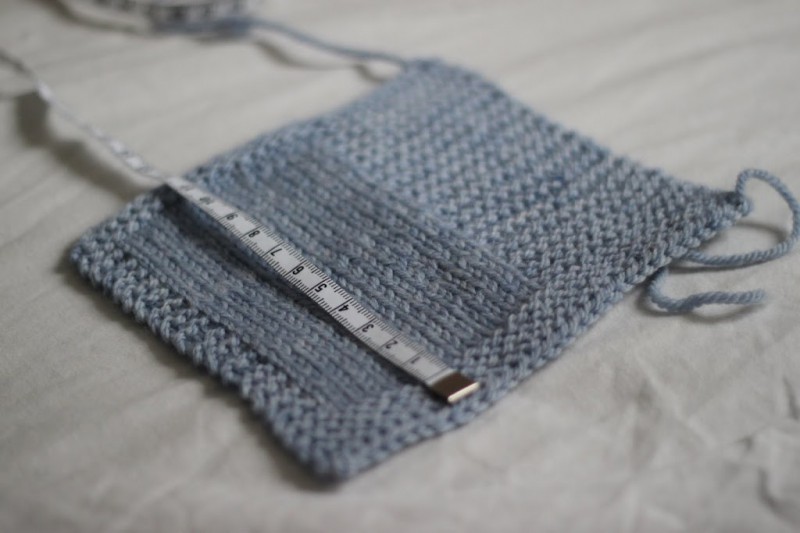
A little bath and a block, gently stretching the garter stitch but not the stockinette stitch part.
Funnily enough, after blocking, I ended with 19 sts & 26 rows for the stockinette stitch part, 19 sts & 28 rows for the garter stitch part. So – the stockinette stitch shrunk in width. Good to know! The garter stitch part kept it’s shape when I had stretched it, which is also a good result in this case. If not, the sweater would become longer on one side than the other, and that would look a bit odd.
Next up: Step 2: Calculating!