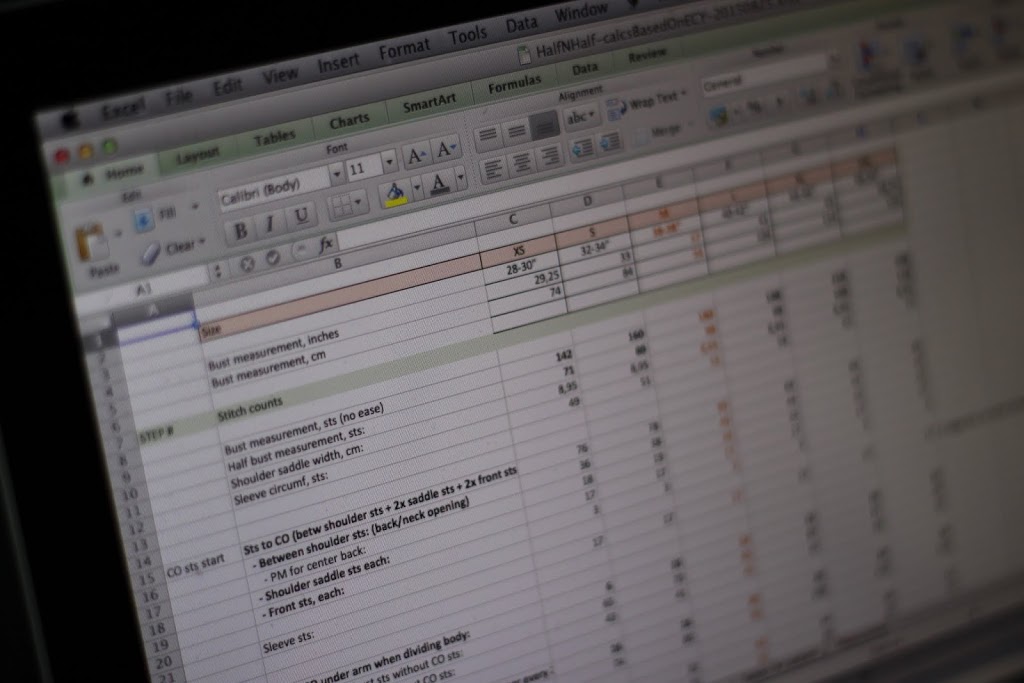
Having done my gauge swatch, it’s time to do some calculations.
For the calculating, I use Excel spreadsheets. I could of course calculate everything by hand with a pen and a piece of paper, and that would also work fine – but knowing the right formulas and notations in Excel, that just goes a lot quicker. An additional plus is that it will be a lot easier to do the grading (= calculating other sizes) later on, as it will be a matter of copying the same formulas used into the same places in another column, using different numbers for the size only.

Now I’m usually doing the grading simultaneously with my calculations for the sample I’m working on. There’s a very specific reason for that: This way, I can find out straight away if the plan I have will also work out for other sizes. It’s pretty handy, as it will make it possible to make sure I don’t need to do all kinds of things specific for one size or the other.
Step 2B: Calculating yarn use per color
Apart from calculating the stitch counts needed for the sizes, I also needed to calculate how much of each color I could use in order to have enough for both body and sleeves. This includes calculating the area of the fabric (cm2, square cm), and multiplying it with the amount of yarn used per cm2 (calculated on grounds of the size and weight of my gauge swatch). A little simple math later, I could see that I could make stretches of around 11-12 cm per color, and only use the 5 skeins I have in the gradient. Hurray! Now I just hope my calculations actually are right (which isn’t always the case at this point in time) :)
Next up: Step 3: Pattern writing, start knitting, ripping out, re-calculating, starting over…

